
Set up a Custom HDR environment
Import an HDR or EXR environment, align its lighting, configure ground projection, and save the result in Tridi Viewer 1.4.
Applies to Tridi Viewer 1.4.0 release. Release notes
Custom HDR mode uses one high-dynamic-range panorama as the visible environment, reflection source, and image-based lighting for the current scene. Tridi accepts Radiance HDR (.hdr) and OpenEXR (.exr) files.
Choose a suitable environment image
- Use a seamless equirectangular environment panorama. A 2:1 image usually maps most predictably around the scene.
- Prefer an HDR or EXR that retains real high-dynamic-range light values. Renaming a standard image does not turn it into an HDR environment.
- For Ground Projection, choose an environment with a recognizable ground plane and note the approximate height of the camera that captured it.
Import the HDR or EXR
- Open a model and select Environment Settings from the toolbar.
- Expand Environment and set Mode to Custom HDR.
- Select Load HDR, then choose a
.hdror.exrfile. - Wait while Tridi prepares the environment. The first import can take longer because Tridi creates the skybox and image-based lighting data; the converted result is cached for reuse.
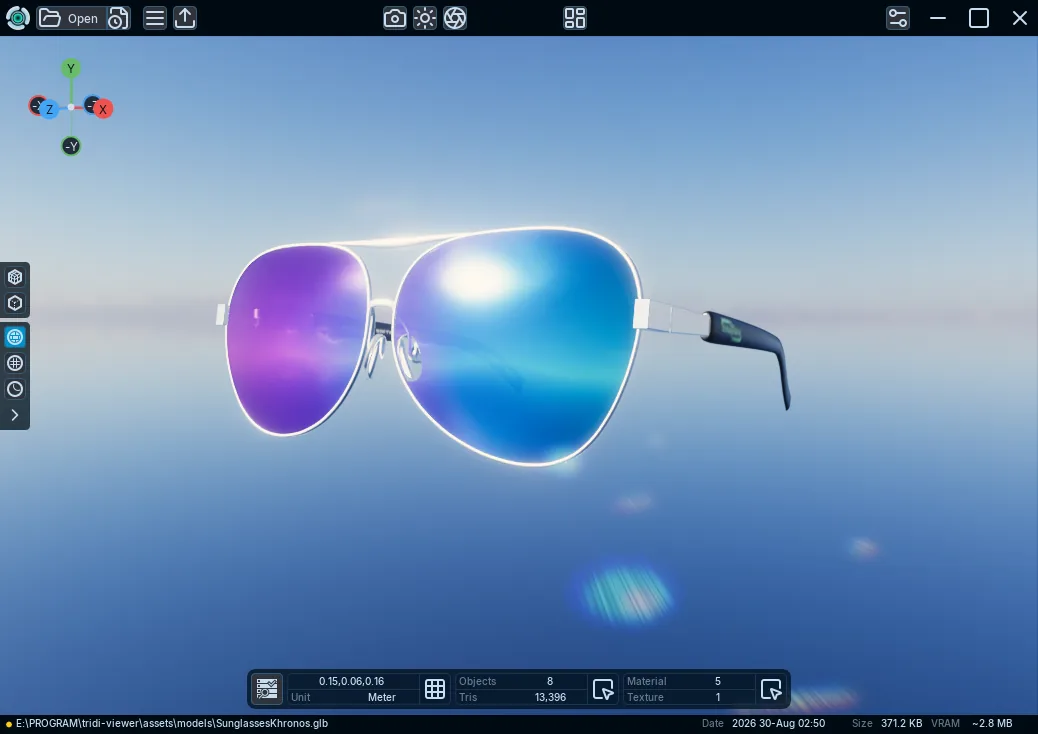
- Confirm that the environment appears behind the model and that its light and reflections affect the material.
Align lighting and reflections
- IBL Intensity
- Scales the lighting and reflections produced by the active HDR. Adjust this before compensating with exposure or material values.
- HDR Rotation
- Rotates the visible environment, reflections, and automatically detected dominant light together from 0° to 360°. You can also rotate the environment horizontally with Shift+right-drag in the viewport.
When the panorama contains a sufficiently clear bright source, Tridi detects its dominant direction and uses it to align directional shadows. If no confident source is found, the environment still supplies the skybox, image-based lighting, and reflections.
Set up Ground Projection
- Enable Ground Projection under the Custom HDR controls.
- Set Ground Height to the approximate height of the panorama's capture camera above its ground plane. The default starting point is 1.5 m.
- Set Projection Radius large enough to cover the model and expected camera movement. The default is 100 m; increase it if the projected environment feels too close or its transition becomes noticeable.
- Orbit and move the camera near the model. Refine Ground Height first, then Projection Radius, until the apparent floor and horizon remain stable.
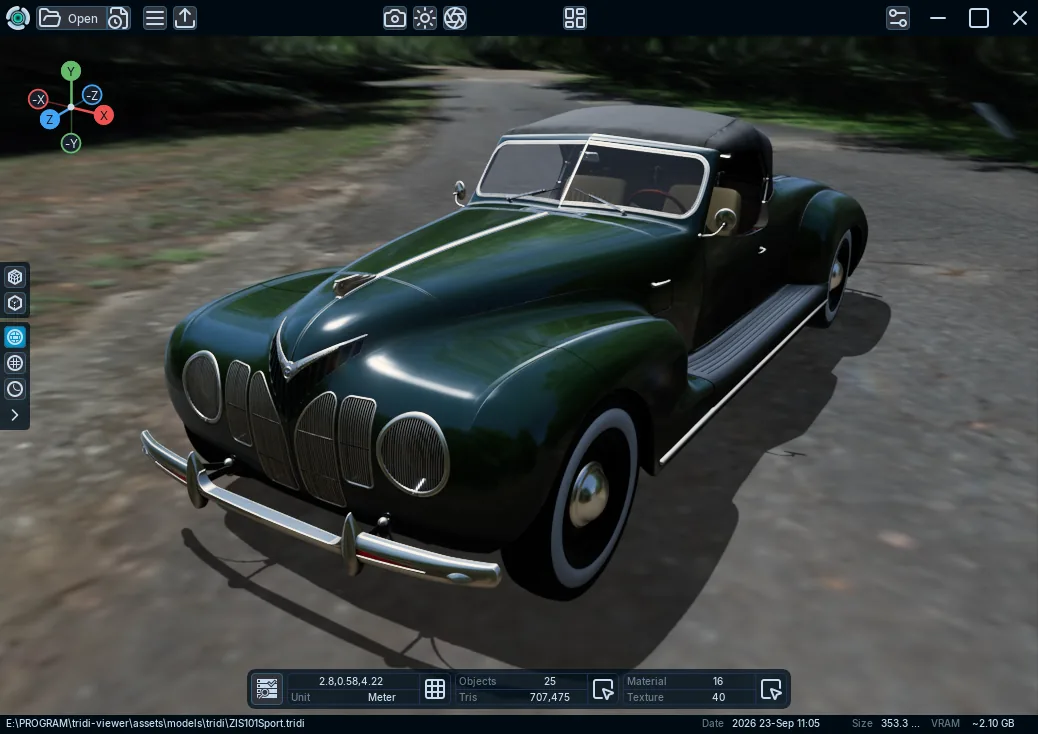
Ground Projection changes only the visible lower part of the HDR by projecting it onto a virtual dome. Image-based lighting, reflections, dominant-light detection, and shadow direction continue to use the original environment.
Refine atmosphere and shadows
- Haze and Haze Density blend distant scene geometry into the active environment. They do not rewrite the HDR image.
- Bloom and Bloom Intensity control the spread from bright highlights and emissive materials.
- Lens Flare is available while Bloom is enabled and depends on bright content in the rendered view.
- Shadows enables the shadow system. Expand it to configure Self Shadows, Ground Shadow, and shadow quality.
Save or reuse the setup
- Tridi caches prepared environment data, so importing the same unchanged source again can reuse the converted result.
- Save a native
.tridiproject to embed the prepared environment with the scene and presentation settings. The saved project does not depend on the original HDR or EXR remaining at its source path. - With Tridi Plus, Application Actions > Save Current as Startup can restore the Custom HDR presentation at launch. The startup copy is kept separately from later Custom HDR imports.
Troubleshooting
| Problem | What to check |
|---|---|
| The file does not appear in the picker | Use a file with a supported .hdr or .exr extension. |
| Custom HDR import fails | Use Copy error in the failure dialog, verify that the image opens in another HDR-capable application, then try a known-good equirectangular HDR or EXR. |
| The model looks too dark or too bright | Adjust IBL Intensity first. Use exposure only after the environment lighting is close to the intended level. |
| Highlights or shadows face the wrong direction | Adjust HDR Rotation. It rotates the visible HDR, reflections, and detected light direction together. |
| The projected floor stretches or slides | Match Ground Height to the panorama's capture height, then increase Projection Radius if the camera or scene covers a larger area. |
| Lens Flare has no visible effect | Enable Bloom, keep Lens Flare enabled, and frame a sufficiently bright highlight or light source. |